
Hello Everyone! My name is Maria and I blog over at Sewn by Maria! I write about my sewing adventures and about my life adventures, I
usually have more sewing adventures than life adventures. But that’s okay! Haha
I have been sewing for three years now and I really love it. I am constantly
looking for new ways to improve my craft, and my blog is my little corner to
showcase my creations and show you how to make some of them yourself.
Caroline was kind enough to ask me to guest post while she
is away, I’ve never written a guest post but I don’t imagine it’s too hard!
Today I am going to show you how to make a clip on bow tie.
I am very big on making neckties, if you go by my blog you will see that I make
my boyfriend and brothers’ neckties all the time. But I have a special love for
bowties; unfortunately the boys in my life don’t know how to tie a bowtie so I
figured I should make them a few bowties that they don’t need to tie. It’s
pretty easy and straightforward; hopefully you can make the men in yourlife
many of these cute bow ties.
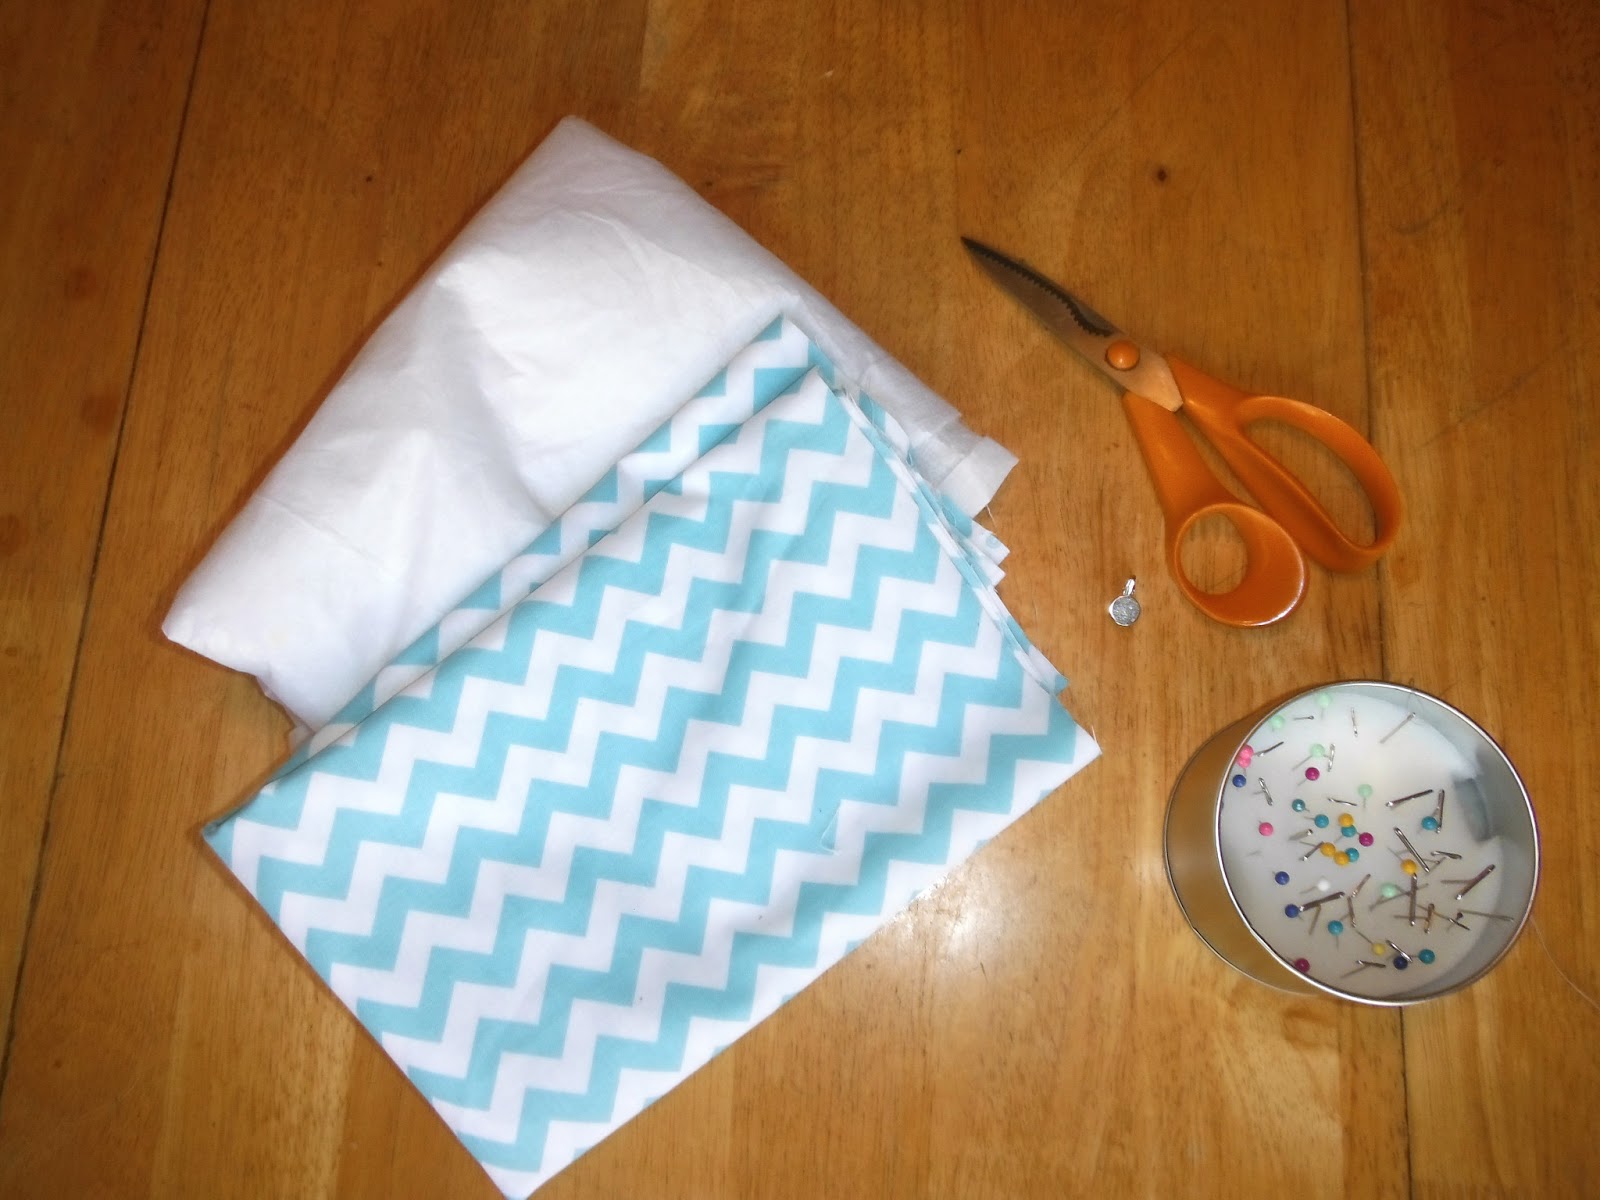
Materials:
Fabric of your choice
Lightweight interfacing
Bow Tie clip – I am using earring clips (the bigger the
better), they work too.
Pins
Fabric scissors
A sewing machine or needle and thread
Ruler
First, you cut
2 pieces of 2” x 8” for the body of the bowtie
1 smaller piece of 3”x 4” for the center band
1 piece of interfacing of 2” x 8”
** Leave about ¼” – ½” seam allowance. You will end up with
4 pieces, 2 long fabric pieces, 1 long interface piece, and 1 small fabric
piece.

Grab one of the long fabric pieces and the interfacing. Iron
or pin the interface to the wrong side of the fabric. This piece will become
the under leaf.

Fold the leaf ends towards the center of the leaf and pin.
Do this with both leaves.

Sew the top and bottom sides of the folded and pinned bow
tie leaves. You can do this by hand or you can use a sewing machine.


Trim the corner seam allowances.

Turn the leaves right side out through the center slits. You
can use your scissor point or a pencil to push out the corner. Iron carefully.

Now grab the small piece of fabric for the middle of the bow
tie – fold in half (right side together), pin and sew and turn it right side
out.


Now, time to assemble your bow tie- stack both leaves
together (make sure the leaf with the interfacing is on the bottom. Wrap the
center band around the bow tie and fold the ends and hand sew together.


Finally, with a pair of scissors make a small hole in the
back of the middle band to insert the clip, you can secure it with hot glue.


And you’ve got a clip on bow tie! Here’s a picture of my
little brother rocking the chevron bow tie :)

I hope you enjoy this tutorial!
Maria

These are so cute! I see these sold for a lot of $$ all the time, but now I can make my own.
ReplyDeleteVisiting from Tatertots & Jello link up party.
xo
Daniela
www.iputabirdonit.blogspot.com
Cute tie! I love the chevrons and the color.
ReplyDeleteNavy Wifey Peters @ <a href="http://www.usscrafty.blogspot.com/2013/08/submarine-sunday-43.html>Submarine Sunday Link Party</a>
So cute and simple :) Thank you :)
ReplyDeleteLoving this bow tie and the fabric you've used is just gorgeous! I'd be thrilled if you'd come on over to Pink Recipe Box and link up at Creative Wednesdays: http://pinkrecipebox.com/creative-wednesdays-with-pink-recipe-box-3/
ReplyDeleteAdorable! And great pattern. I'd love for you to link up to The DIY'ers! http://homecomingmn.blogspot.com/2013/08/the-diyers-and-my-new-rug.html
ReplyDeleteHow fabulous is this. What a pretty tie and great tutorial. Thanks for linking to Inspire Me. Hugs, Marty
ReplyDeleteToo cute!!
ReplyDeleteWhat a great guest post. A fun project and it looks great as a bow tie but I'm thinking of using them as embellishments to a pillow or lampshade. :D
ReplyDeleteThanks for sharing.
p